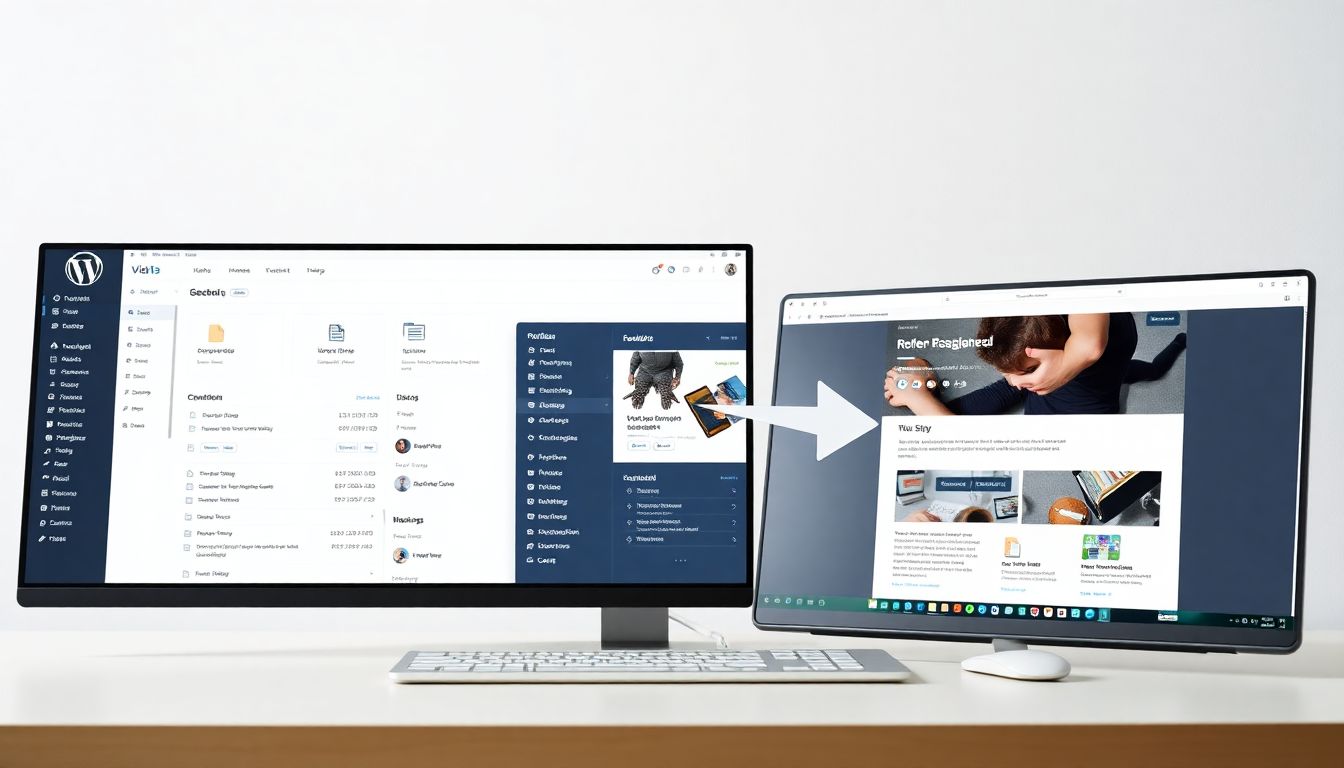
Exporting and Importing Pages the Right Way
Ever felt stuck with your current website setup? Perhaps you're itching for a fresh look or a better hosting provider. The thought of moving all your precious WordPress pages might seem daunting. You worry about losing data, broken links, or messing up your SEO. But what if I told you moving those pages could be easy? This guide will show you a stress-free method to export and import your WordPress pages.
Understanding WordPress Export and Import
WordPress has handy tools for moving your content. The export and import features are built right in! But it is important to understand something. These tools move content only, not your entire website setup.
What is the WordPress Export Feature?
The export feature creates an XML file. This file contains your pages, posts, and other content. Think of it as a neatly packaged bundle of your important stuff. The XML file includes your page titles, text, and sometimes even the media.
What is the WordPress Import Feature?
The import feature takes that XML file and adds its content to a new WordPress site. It's like unpacking the bundle and putting everything in its place. Keep in mind, it's not perfect, though. The import feature might need a little help with some things.
Step-by-Step: Exporting Your WordPress Pages
Ready to grab your pages and go? Here's how to export them from your current WordPress site.
Logging into Your WordPress Dashboard
First, you need to get into the driver's seat of your website. This means logging into your WordPress dashboard. Usually, you can do this by adding "/wp-admin" to your website's address. For example, www.yourwebsite.com/wp-admin. Enter your username and password to log in.
Navigating to the Export Tool
Once you're in, look at the menu on the left side. Find "Tools" and click on it. A submenu will pop up, and then click "Export." That's your ticket to getting your pages out.
Choosing "All Content" vs. Specific Pages
Now, you have a choice to make. You can export everything, or you can pick and choose. Since we just want pages, select that option. To export only pages, select "Pages" from the options. You can even filter by date if you only need certain pages. Select the pages you want to export.
Downloading the Export File
After you have selected the pages, click the "Download Export File" button. This will save the XML file to your computer. Give the file a descriptive name, such as "my-wordpress-pages.xml". This will help you find it later.
Setting Up Your New WordPress Site
Before you import, you need a new home for your pages. This means setting up a new WordPress site.
Choosing a Hosting Provider and Domain Name
Your website needs a place to live on the internet. You need a hosting provider for this. A good host is reliable and keeps your site running smoothly. You will also need a domain name (like www.example.com). It's your website's address.
Installing WordPress
Most hosting providers make installing WordPress easy. They often have one-click installers. You can also download WordPress from wordpress.org and install it yourself. The official WordPress documentation can walk you through it.
Accessing the WordPress Dashboard on Your New Site
After WordPress is installed, log into your new site's dashboard. You'll use the same process as before: www.yournewwebsite.com/wp-admin.
Importing Your WordPress Pages
Now for the big move! Here's how to import your pages into your new WordPress site.
Navigating to the Import Tool
Just like before, find "Tools" in the left-hand menu. Click on it, and then click "Import."
Installing the WordPress Importer Plugin
WordPress can import content from many sources. You will need to install the WordPress Importer plugin. You'll see a list of import options. Find "WordPress" and click "Install Now." Once it's installed, click "Run Importer."
Uploading Your Export File
Now, click the "Choose File" button. Find the XML file you downloaded earlier (like "my-wordpress-pages.xml"). Select the file and click "Upload file and import".
Assigning Authors and Importing Attachments
The next step is to assign authors to the imported pages. You can assign them to an existing user. You can also create a new user. Be sure to check the box that says "Download and import file attachments." This will bring over your images and other media.
Post-Import Checklist and Troubleshooting
After the import, it's time to make sure everything is working correctly.
Checking for Broken Links
Broken links are a pain. They make your site look unprofessional. Use a link checker plugin to find any broken links. Fix them promptly.
Verifying Page Formatting and Media
Take a look at your pages. Make sure the text looks right. Check that all the images and videos are there. Sometimes, formatting can get messed up during the move.
Redirecting Old URLs (if applicable)
If your page addresses have changed, set up redirects. Redirects tell visitors (and search engines) that your content has moved. This is important for SEO. Otherwise, people might land on error pages, and your search ranking could suffer.
Common Import Errors and Solutions
Sometimes, things go wrong. You might see an error message about exceeding the maximum file size. If this happens, ask your hosting provider to increase the upload limit. Alternatively, you can split the export file into smaller chunks.
Conclusion
Moving your WordPress pages doesn't have to be a headache. By using the built-in export and import tools, you can make the switch smoothly. You can enjoy better performance and a fresh design. So go ahead, take the leap and give your website a new lease on life! If you need help then contact us.

